About me

Mijn foto
I've changed my life around and now I am enjoying The Lighter Life. I love cooking and especially baking lovely desserts, but I wanna stay away from little no-no's like too much sugar and fat. I live in Belgium where the 'low-carb and low-fat movement' is just starting to begin so I found myself looking for recipes with easy to find ingredients and metric cooking measurements. Since they were hard to find, I decided to make my own! My desserts may never win beauty contests, for baking with bio ingredients will mostly give you flat cakes and pies. But lord will they win over your taste buds and still have you fitting into your skinny jeans. I invite you all to try out some recipes, adapt a couple where you see fit and above all, learn to enjoy the lovely taste of freshly baked, healthy goods.
Posts tonen met het label soy. Alle posts tonen

zondag 17 november 2013

Cinnamon Cakes


Two reasons why this next creation came into place.

                       1 = I had just bought a new silicon baking tray and I wanted to use it.
                       2 = I've been wanting to make something heavy with cinnamon. 


It can be as simple as that. So I dove into the kitchen, added some of my favorite ingredients in a bowl and whisked away. With no added fat, this cake is easy on the hips yet very yummy on the tongue.


Ingredients:

3 tbsp dark brown unrefined sugar
3 tbsp buckwheat flour
1 tbsp cinnamon
3 medium eggs
A handful of your favorite nuts (I used peanut)
160 ml soy milk

Way to do it:

  1. Combine all dry ingredients (not the nuts)
  2. Add the eggs and whisk till everything is combined.
  3. Add the soy milk and whisk for a good minute.
  4. Plop in the nuts and give it a stir with a spoon.
  5. Divide over your tin and bake, in a pre heated oven, at 200 degrees for about 25 minutes.
  6. Let cool before you transfer them.


This recipe is a little bid different from my usual ones because of the soy milk. This time the batter is very liquid, but a longer baking time still results in a delicious and light cake.

To make it sweeter, you can top with some powdered sugar dissolved in water, making a nice glaze, or you can dip them into cinnamon sugar (just mix some cinnamon with white sugar)

Enjoy
xx

zaterdag 31 augustus 2013

Soy cake with crumble base

It's been a while but I'm back with a new recipe , tried and tested (much to my own enjoyment) and ready to be baked in houses all over the country.

I present you, my low-fat, low sugar, yogurt cake with a crumble base.


Did I read low fat? 
Granted, there is butter in the base, but apart from that, the yogurt and milk add up to about 5g of fat....and that's the good kind of fat people because if you choose soy based products, you ingest the good saturated fats...the one the body just simply needs.

Did you say low sugar?
Two tablespoons of sugar go into the base. The yogurt and milk are naturally sweet and the additions of two tablespoons liquid sweetener just gives all you sweet tooths out there (I know I'm one of 'em) that extra satisfaction.

Why the crumble base?
You can use store-bought cookies and mash them up to make a crumble base. But this way is just way more fun. Get your hands dirty and start kneading that dough. Also, store-bought cookies are, apart from high in bad fat, also filled with extra additives to make them look good and hold their color. Therefore, take the extra ten minutes and just make it yourself and that way, you know exactly what went into them.


Ingredients:

For the crumble:
100 gr soft butter, cut into cubes
150 gr white flour
2 tbsp sugar
pinch of cinnamon
pinch of salt
1 tbsp cold water

For the filling:
250 gr plain soy yogurt (I used my all-time favorite Alpro Soy)
100 ml Light Vanilla Soy drink
2 tbsp liquid sweetener
2 eggs
100 gr buckwheat flour

Way to do it:

  1. Sift the white flour in a bowl and add sugar, cinnamon and the salt and give it a little mix until they are combined. Add the sugar and use your hands to knead the dough. It needs to form a nice consistent ball. Not too sticky but definitely not too crumbly. Add a tbsp of water if you feel like the dough needs it to stick together.
  2. Fold the ball of dough into a tinfoil and let it rest in the fridge for about 30 minutes.
  3. To make the filling, add all it's ingredients in a bowl (use the one from the dough, nobody likes doing dishes right?) and mix until air bubbles start showing. Place in the fridge for at least 10 minutes.
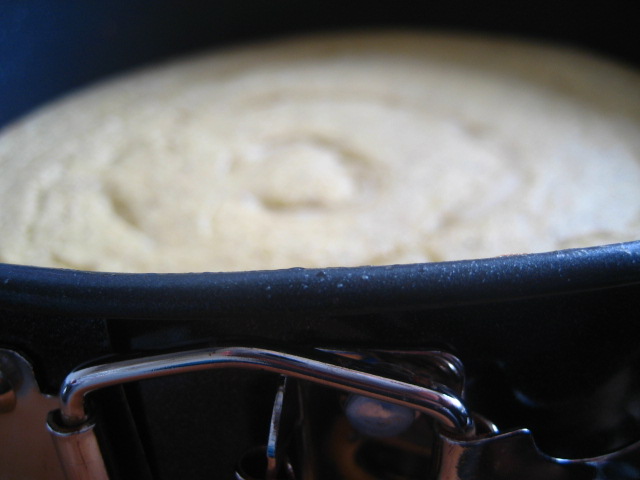
  4. Take a round baking tray and gently oil it. Line the tray with your dough. Pour in the mixture and place into a preheated oven at 200 degrees C for about 20 minutes.
  5.  

Take the cake out of the oven if the outsides are set but the middle is still a little bit wobbly. Let it cool completely (COMPLETELY Stevie, have some patience) before you take it out of the tin.  

You can choose how you wish to decorate the cake. I saved some pieces of the dough and rolled them into long strips to make the circle design. It's your cake and your creation, so do whatever you like. You could even write out a person's name if you are making this cake as a birthday gift.

I enjoyed mine with a cup of coffee in my new favorite mug :)


Enjoy
xx

zondag 7 juli 2013

Soft serve banana and peanut butter ice cream

This one is a quick and easy way to deal with overripe banana's (which I sorta always seem to have) and to fulfill your cravings of ice cream on hot summer days. With 25 degrees outside (don't laugh, for Belgium that's insane) this soft serve banana and peanut butter ice cream hits the spot on all levels.

And a big plus, you don't even need fancy tools for it. Forget expensive ice cream makers, all a girl really needs is her blender.

Ingredients:

2 frozen banana's, peeled and cut into small pieces (peel them before you freeze!)
A dash of soy or regular milk to help your blender move things around
Half a tablespoon of peanut butter

Way to do it:

  1. Combine all ingredients in the blender and blend to a thick, ice cream texture. If too dry, add a little more of milk. Because the banana's are so ripe, you don't need to add extra sweetener.
  2.  
And it's just that simple. You can whip this up in under 5 minutes. This is a generous serve for one so just multiply the ingredient's if you want to let other people enjoy this delicious, low fat, summer treat.


Feel free to add extra ingredients but make sure the mixture doesn't get too liquid. Because it's a soft serve, the ice cream melts very quickly so eat right away.

Enjoy
xx