About me

Mijn foto
I've changed my life around and now I am enjoying The Lighter Life. I love cooking and especially baking lovely desserts, but I wanna stay away from little no-no's like too much sugar and fat. I live in Belgium where the 'low-carb and low-fat movement' is just starting to begin so I found myself looking for recipes with easy to find ingredients and metric cooking measurements. Since they were hard to find, I decided to make my own! My desserts may never win beauty contests, for baking with bio ingredients will mostly give you flat cakes and pies. But lord will they win over your taste buds and still have you fitting into your skinny jeans. I invite you all to try out some recipes, adapt a couple where you see fit and above all, learn to enjoy the lovely taste of freshly baked, healthy goods.
Posts tonen met het label dough. Alle posts tonen

zondag 13 oktober 2013

Delicious Pizza without the guilt!

One of the best things out there...is pizza. Not only is it simply delicious, it's also fun to eat and share with friends. But it's also one of the worst thing out there when you're thinking of fat and calories. So therefore, my way of making a pizza which will leave you with a great dinner and none of the guilt.

You can always buy one of those ready-made crusts, but they do tend to cost a pretty penny, so why not make your own. I promise you, it's so easy and simple. I wouldn't add it to my blog if it wasn't!


Also...no yeast! I don't get yeast, never have. It's one of those ingredients you would buy one time, use like half of it, and then after a year, you throw it out when it becomes hard as rock and you need the fridge space.

So, I present you a simple pizza crust with no fuss but packing in taste, topped with delicious ingredients, all rolling in to a great dinner to enjoy with a good movie on series marathon.

Ingredients for 1 medium pizza:

for the crust
200 gr flour
pinch of baking powder
pinch of salt
pinch of garlic powder
pinch of dried basil
90ml water
extra: 1tbsp vegetable oil


for the pizza
a half yellow bell pepper
a half red union
3 tbsp tomato sauce
2 slices of chicken
A handful of grated cheese
extra: your favorite spices. I used Cajun and simple chicken spices

Way to do it:

  1. Add all dry ingredients for the crust in a bowl and mix with a spoon. Then add the water. You might not need all of it, so add as you knead and add some more of it's too dry. The dough shouldn't be too sticky but should have more of an elastic texture. Spread out on a baking tray lined with a baking sheet and flatten until you get a nice round pizza. Curl back the outsides a little to get that crunchy side crust.
  2. Drip some oil on the inside of the pizza and move it around. This will prevent the base getting soggy with the tomato sauce. Such a marvelous little trick.
  3. Then starts the fun part. The topping! I added half a yellow bell pepper, chopped into small cubes, half a red onion, chicken slices you would normally put on your sandwich but I cut them into little bits ass well and sprinkled them over the vegetables. Finally comes the cheese. Of course, the more cheese you add, the more high in fat it will become so cheese in moderation.
  4. I also topped with some herbs so give the pizza an extra little spicy kick.
  5. Bake in a preheated oven on 240degrees C for about 12 minutes. Or until the cheese is melted and the crust is crunchy.

To be honest, I'm actually kind of surprised at how good the base turned out. I was expecting a floppy crust, but it's was strong, crunchy and very yummy.

The good thing about making the crust yourself is that you can add flavor. I used garlic and basil, but you could also go with grated cheese, paprika powder, chilli or even sugar when you're going for a dessert.

Enjoy
xx 

zaterdag 31 augustus 2013

Soy cake with crumble base

It's been a while but I'm back with a new recipe , tried and tested (much to my own enjoyment) and ready to be baked in houses all over the country.

I present you, my low-fat, low sugar, yogurt cake with a crumble base.


Did I read low fat? 
Granted, there is butter in the base, but apart from that, the yogurt and milk add up to about 5g of fat....and that's the good kind of fat people because if you choose soy based products, you ingest the good saturated fats...the one the body just simply needs.

Did you say low sugar?
Two tablespoons of sugar go into the base. The yogurt and milk are naturally sweet and the additions of two tablespoons liquid sweetener just gives all you sweet tooths out there (I know I'm one of 'em) that extra satisfaction.

Why the crumble base?
You can use store-bought cookies and mash them up to make a crumble base. But this way is just way more fun. Get your hands dirty and start kneading that dough. Also, store-bought cookies are, apart from high in bad fat, also filled with extra additives to make them look good and hold their color. Therefore, take the extra ten minutes and just make it yourself and that way, you know exactly what went into them.


Ingredients:

For the crumble:
100 gr soft butter, cut into cubes
150 gr white flour
2 tbsp sugar
pinch of cinnamon
pinch of salt
1 tbsp cold water

For the filling:
250 gr plain soy yogurt (I used my all-time favorite Alpro Soy)
100 ml Light Vanilla Soy drink
2 tbsp liquid sweetener
2 eggs
100 gr buckwheat flour

Way to do it:

  1. Sift the white flour in a bowl and add sugar, cinnamon and the salt and give it a little mix until they are combined. Add the sugar and use your hands to knead the dough. It needs to form a nice consistent ball. Not too sticky but definitely not too crumbly. Add a tbsp of water if you feel like the dough needs it to stick together.
  2. Fold the ball of dough into a tinfoil and let it rest in the fridge for about 30 minutes.
  3. To make the filling, add all it's ingredients in a bowl (use the one from the dough, nobody likes doing dishes right?) and mix until air bubbles start showing. Place in the fridge for at least 10 minutes.
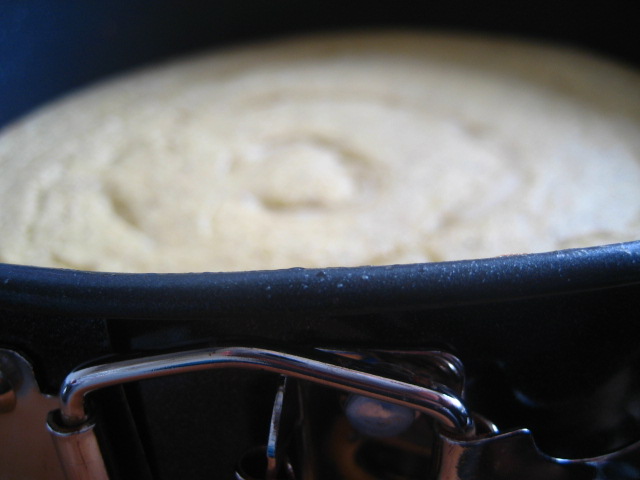
  4. Take a round baking tray and gently oil it. Line the tray with your dough. Pour in the mixture and place into a preheated oven at 200 degrees C for about 20 minutes.
  5.  

Take the cake out of the oven if the outsides are set but the middle is still a little bit wobbly. Let it cool completely (COMPLETELY Stevie, have some patience) before you take it out of the tin.  

You can choose how you wish to decorate the cake. I saved some pieces of the dough and rolled them into long strips to make the circle design. It's your cake and your creation, so do whatever you like. You could even write out a person's name if you are making this cake as a birthday gift.

I enjoyed mine with a cup of coffee in my new favorite mug :)


Enjoy
xx

zondag 28 juli 2013

Blueberry crumble bars

Feast your eyes on this!


Doesn't it look wonderful? This, my sweet friends, is what happens when it's sunny and with bikini season at the back of your mind, you start craving something sweet. This recipe, although light in calories, isn't very light on the stomach so you only need a small piece to get filled up.

I got the original recipe here, but for added healthiness, I substituted most of the sugar by honey and sweetener. I also chose to use half white flour, half buckwheat, because the good nutrition of buckwheat strengthens the body and upps your immune system. Granted, there is some butter here and if I make new versions of this recipe, I'm going to try and cut down some of the butter. But for now, just marvel at their deliciousness.


Ingredients:

100gr white sugar
2 teaspoons liquid sweetener
1 teaspoon baking powder
150gr white all-purpose flour
150gr buckwheat flour
200gr soft butter cut into small pieces
1 egg
a pinch of salt

400 to 500 gr fresh blueberries
1,5 tablespoons honey
50gr white all-purpose flour

Way to do it:


  1. Preheat the oven to 200 degrees C and grease your baking pan. Use any which one you like. I used a big, round, spring form but if you wanna make bars, I would suggest a square one.
  2. In a big bowl (you need the extra space for the mixing) mix 150gr white four, 150gr buckwheat flour and baking powder. Add in the egg, liquid sweetener, salt and butter. Use your hands to knead the dough into a big ball. This could take some time but it's really worth it in the end.
  3. Take half of the dough and spread it out evenly into your prepared tin. Pad it down all the way to the sides.
  4. In a new bowl, sprinkle blueberry's with the honey and then add the flour. Turn the blueberry's over so that the honey and flour sticks to them. Then spread them out evenly over your batter.
  5. Take the remainder of the dough and cover up all the berry's. Again, take some time to cover all of them, basically sealing them in.
  6. Bake for 30mins at 200 degrees C and try to show restraint once the amazing smell of the baked fruit hits your nose.
  7. Take out of the oven when the top turns slightly brown and leave to cool before cutting into bars or squares, as you prefer. They keep best in the refrigerator and they are even better the next day.


You can also leave the cake/pie/bars, whatever you wanna call it, into it's original form and serve as a lovely summer alternative to fattening pies and cakes. The crust, once cooled, cuts well so you can serve a nice piece of pie and maybe even add some lime or lemon sorbet for the ultimate summer dessert!


Enjoy,
xx